


Hey there, folks! As a supplier in the cold room business, I know how important it is to have a well - installed ceiling in a cold room. A proper ceiling not only helps in maintaining the temperature but also adds to the overall durability and functionality of the space. So, today I'm gonna walk you through the process of installing a ceiling in a cold room.
Step 1: Planning and Preparation
Before you start nailing or screwing anything up, you need to have a solid plan. First off, measure the area where you're going to install the ceiling. Make sure you get accurate measurements of the length, width, and height of the cold room. You don't want to end up with a ceiling that's too small or too big.
Next, decide on the type of ceiling material you want to use. There are a few options out there. For cold rooms, materials like insulated panels are a great choice. They help in keeping the cold air inside and prevent condensation. You also need to check the building codes and regulations for your area. Some places have specific requirements for cold room ceilings, so it's better to be on the safe side.
Step 2: Gathering Materials and Tools
Once you're done with the planning, it's time to gather all the materials and tools you'll need. As I mentioned, get the right ceiling panels. Make sure they're designed for cold room use. You'll also need insulation materials to go with the panels.
For tools, you'll need a measuring tape (you already used it for planning, but it'll come in handy again), a saw if you need to cut the panels, a drill, screws or nails, a level, and a ladder. Don't forget safety gear like gloves and goggles. You don't want any accidents while you're up there.
Step 3: Installing the Ceiling Tracks
The first physical step in installing the ceiling is putting up the ceiling tracks. These tracks will hold the ceiling panels in place. Start by marking the position of the tracks on the walls. Use your level to make sure the marks are straight. Then, drill holes into the walls and insert the appropriate anchors.
Once the anchors are in place, attach the tracks to the wall using screws or nails. Make sure the tracks are firmly attached and level. This is crucial because if the tracks aren't straight, your ceiling panels won't fit properly.
Step 4: Installing the Ceiling Panels
Now comes the fun part - installing the ceiling panels. Start at one corner of the cold room and work your way across. Lift the first panel up and slide it into the tracks. Make sure it fits snugly. You may need to use a little force, but be careful not to damage the panel.
Once the first panel is in place, you can continue adding the rest. If you need to cut a panel to fit, use your saw. Make sure to measure twice and cut once. As you add each panel, make sure they're aligned properly. You can use the level to check.
Step 5: Insulation and Sealing
After all the panels are in place, it's time to add insulation. Insulation is key in a cold room. It helps to reduce heat transfer and keep the cold air inside. Place the insulation material between the ceiling panels and the roof structure.
Once the insulation is in place, you need to seal any gaps or joints. You can use a sealant specifically designed for cold rooms. This will prevent air leakage and help maintain the temperature inside the cold room.
Step 6: Finishing Touches
Once the ceiling is installed and insulated, you can add some finishing touches. You may want to paint the ceiling if the panels are plain. Make sure to use a paint that's suitable for cold room environments. You can also install lighting fixtures on the ceiling. Just make sure they're the right type for a cold room, as regular lights may not work well in low - temperature conditions.
Why a Well - Installed Ceiling Matters
A well - installed ceiling in a cold room has several benefits. First of all, it helps in energy efficiency. By keeping the cold air inside, the refrigeration system doesn't have to work as hard, which can save you money on energy bills.


Secondly, it improves the overall hygiene of the cold room. A properly sealed and insulated ceiling prevents the growth of mold and mildew, which can contaminate the products stored in the cold room.
Moreover, a good ceiling adds to the structural integrity of the cold room. It can withstand the pressure and weight of the insulation and any equipment that may be stored on the ceiling.
Our Cold Room Solutions
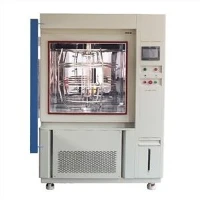
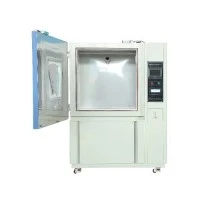
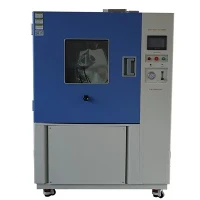
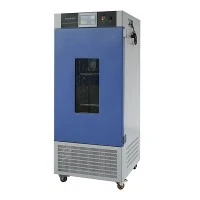
As a cold room supplier, we offer a wide range of cold room products to meet your needs. Whether you need a Reach In Environmental Chamber for small - scale storage or a Walk in Temperature Chamber for larger operations, we've got you covered. We even have Removable Walk In Chamber options for those who need flexibility.
If you're interested in our products or need more advice on cold room installation, don't hesitate to reach out. We're here to help you make the best decisions for your cold room needs. Contact us for a free consultation and let's start a conversation about how we can work together to create the perfect cold room for you.
References
- Cold Room Installation Guidebooks from industry experts
- Building codes and regulations for cold room construction