

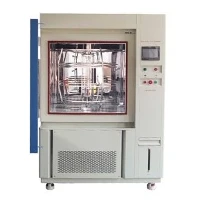
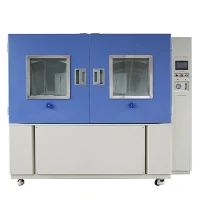
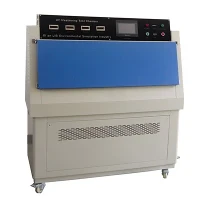
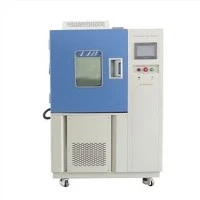
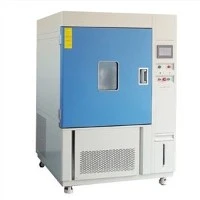
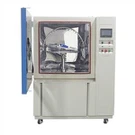
Hey there! As a drying oven supplier, I know how important it is to keep your drying oven clean. A clean drying oven not only ensures better performance but also extends its lifespan. In this blog, I'll walk you through the steps on how to clean a drying oven effectively.
Why Cleaning Your Drying Oven Matters
Before we jump into the cleaning process, let's talk about why it's so crucial to keep your drying oven clean. Over time, dirt, dust, and debris can accumulate inside the oven. This buildup can affect the oven's temperature distribution, leading to uneven drying results. It can also cause the oven to work harder, increasing energy consumption and potentially shortening its lifespan. Moreover, if you're using the drying oven for food or medical applications, cleanliness is non - negotiable to prevent contamination.
What You'll Need
First things first, gather the necessary cleaning supplies. You'll need:
- Mild detergent: Avoid using harsh chemicals that can damage the oven's interior.
- Soft - bristled brush: This is great for getting into the nooks and crannies.
- Microfiber cloths: They're gentle on the oven's surface and absorbent.
- Distilled water: Tap water can leave mineral deposits.
- Gloves: To protect your hands from any cleaning agents.
Step 1: Preparation
Before you start cleaning, make sure the drying oven is completely cooled down. This is a safety precaution to prevent burns. Unplug the oven from the power source to avoid any electrical accidents. Remove all the racks, trays, and any other removable parts from the oven. Place them in a sink filled with warm, soapy water. Let them soak for about 15 - 20 minutes to loosen any stubborn dirt.
Step 2: Wiping Down the Interior
Dampen a microfiber cloth with a mixture of mild detergent and distilled water. Gently wipe down the interior walls, ceiling, and floor of the drying oven. Pay special attention to areas with visible dirt or stains. For hard - to - reach areas, you can use a soft - bristled brush to dislodge the dirt. After wiping, use a clean, dry microfiber cloth to remove any excess moisture.


Step 3: Cleaning the Removable Parts
After the racks and trays have soaked, use a soft - bristled brush to scrub them gently. Make sure to clean both sides thoroughly. Rinse them under running distilled water to remove all the soap residue. Dry them completely with a clean microfiber cloth before putting them back into the oven.
Step 4: Cleaning the Exterior
The exterior of the drying oven also needs some attention. Use a microfiber cloth dampened with a mild cleaning solution to wipe down the outside of the oven. This includes the door, control panel, and the sides. Be careful around the control panel to avoid getting any liquid inside. Once you've wiped the exterior, dry it with a clean cloth.
Step 5: Ventilation System
The ventilation system of the drying oven plays a crucial role in its performance. Over time, it can get clogged with dust and debris. To clean it, locate the vents on the oven. Use a soft - bristled brush to gently remove any loose dirt from the vents. You can also use a can of compressed air to blow out any stubborn debris. Make sure not to damage the ventilation system while cleaning.
Step 6: Final Checks
Once you've completed all the cleaning steps, do a final check. Look for any remaining dirt or moisture inside and outside the oven. Make sure all the removable parts are properly placed back in the oven. Plug the oven back into the power source and turn it on to test its functionality.
Additional Tips
- Regular cleaning: Try to clean your drying oven at least once a month, depending on how often you use it.
- Avoid overloading: Overloading the oven can cause more dirt and debris to accumulate, so try to follow the recommended load capacity.
- Use a liner: You can place a liner on the bottom of the oven to catch any spills or debris, making cleaning easier.
Related Equipment
If you're in the market for other temperature - related equipment, we also offer some great options. Check out our Temperature Humidity Calibration Chamber, which is perfect for precise calibration. Our high temperature test equipment is ideal for extreme temperature testing. And if you need an ESS Chamber, we've got you covered too.
Contact Us for Purchasing
If you're interested in our drying ovens or any of our other products, we'd love to hear from you. Whether you have questions about cleaning, maintenance, or want to start a purchase negotiation, don't hesitate to reach out. We're here to provide you with the best solutions for your temperature - control needs.
References
- General knowledge from years of experience as a drying oven supplier.
- Manufacturer's guidelines for drying oven maintenance.